Welcome to our comprehensive guide on troubleshooting and fixing common bathroom leaks. A leaky bathroom can be a nuisance, causing water damage and increasing your utility bills. In this article, we will walk you through the most common bathroom leaks and provide step-by-step instructions on how to fix them yourself. By following our expert advice, you can save time and money by avoiding the need for professional help. So let’s get started and tackle those pesky leaks!
1. Leaky Faucets
A dripping faucet is not only annoying but can also waste a significant amount of water over time. The most common cause of a leaky faucet is a worn-out washer or O-ring. To fix this issue, follow these steps:
- Turn off the water supply to the faucet by closing the shut-off valve under the sink.
- Remove the handle of the faucet using a screwdriver or Allen wrench.
- Locate the washer or O-ring inside the faucet assembly and replace it with a new one.
- Reassemble the faucet, turn on the water supply, and check if the leak has been fixed.
2. Running Toilets
A running toilet is not only irritating but can also lead to a significant increase in your water bill. The problem is often caused by a faulty flapper or a defective fill valve. Here’s how you can fix it:
- Remove the tank lid and inspect the flapper. If it looks worn out or damaged, replace it with a new one.
- Check the water level in the tank. If it is too high, adjust the float to lower the water level.
- If the fill valve is malfunctioning, consider replacing it with a new one.
- Flush the toilet and observe if the running has stopped. If not, double-check the flapper and fill valve.
3. Leaking Showerheads
A leaky showerhead can result in water wastage and reduced water pressure. The most common cause of this issue is a loose connection or a worn-out washer. Follow these steps to fix it:
- Turn off the water supply to the showerhead.
- Unscrew the showerhead from the shower arm using pliers or a wrench.
- Inspect the washer inside the showerhead. If it is damaged, replace it with a new one.
- Apply plumber’s tape on the threads of the shower arm and screw the showerhead back on.
- Turn on the water supply and check if the leak has been resolved.
4. Faulty Pipe Connections
Leaky pipes can cause significant water damage if not addressed promptly. The most common cause is loose pipe connections. Here’s what you can do to fix it:
- Turn off the water supply to the affected area.
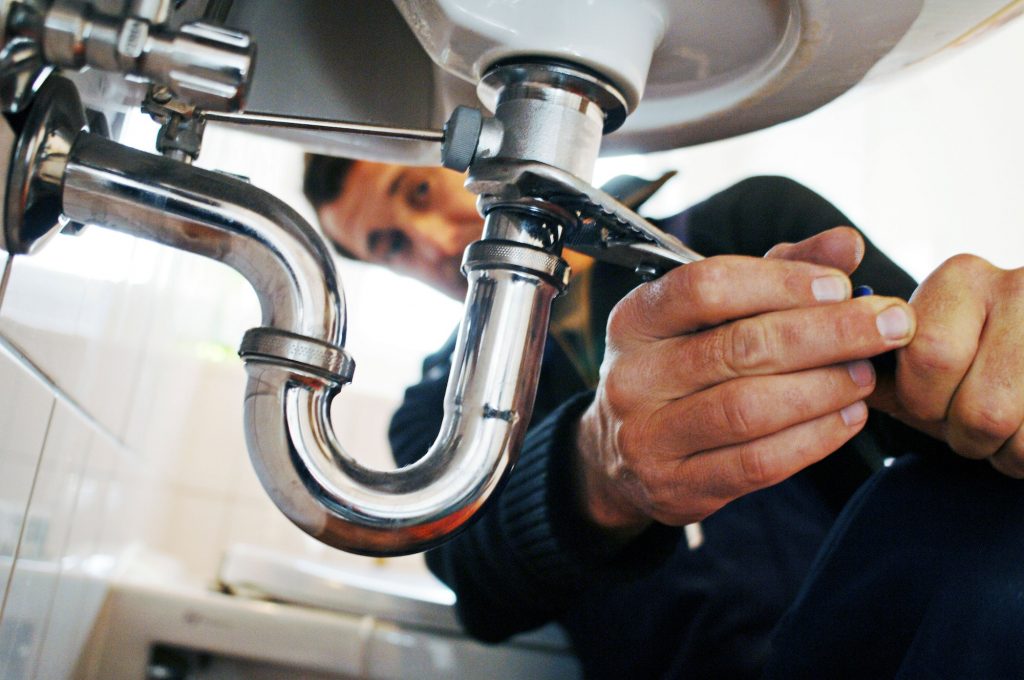
- Inspect the pipe connections and tighten any loose fittings using a wrench or pliers.
- If the leak persists, consider using plumber’s tape or pipe joint compound to seal the connections.
- Turn on the water supply and check if the leak has been resolved.
5. Cracked Bathtub or Shower Tray
A cracked bathtub or shower tray can lead to water leakage and damage to the surrounding areas. If you notice any cracks, follow these steps to fix them:
- Clean the cracked area using a mild detergent and let it dry completely.
- Apply a waterproof sealant or epoxy filler to the crack, ensuring it is evenly distributed.
- Smooth out the sealant or filler using a putty knife and let it cure as per the manufacturer’s instructions.
- Once cured, check if the crack has been properly sealed by running water over it.
6. Clogged Drains
Clogged drains are a common bathroom issue that can lead to water backup and unpleasant odors. To clear a clogged drain, try the following methods:
- Use a plunger to create suction and dislodge the clog. Make sure to cover the overflow drain (if present) for better results.
- If the plunger doesn’t work, try using a drain snake or auger to break up the clog and pull it out.
- For stubborn clogs, consider using a chemical drain cleaner, following the manufacturer’s instructions carefully.
- Once the drain is clear, run hot water to flush out any remaining debris.
7. Sealing Gaps and Cracks
Gaps and cracks around bathroom fixtures can lead to water seepage and damage. To seal these areas, follow these steps:
- Clean the area around the gap or crack using a mild detergent and let it dry thoroughly.
- Apply a waterproof caulk or sealant using a caulk gun, ensuring an even and continuous bead.
- Smooth out the caulk using a caulk smoothing tool or your finger.
- Let the caulk cure as per the manufacturer’s instructions before using the fixture.
Conclusion
In conclusion, dealing with bathroom leaks doesn’t always require professional help. By following the troubleshooting steps and DIY fixes provided in this guide, you can effectively address common bathroom leaks and save money on repairs. Remember to always turn off the water supply before attempting any repairs and consult a professional if you are unsure or encounter a more serious plumbing issue. With the information provided here, you are now equipped to tackle those leaks and enjoy a leak-free bathroom environment.

