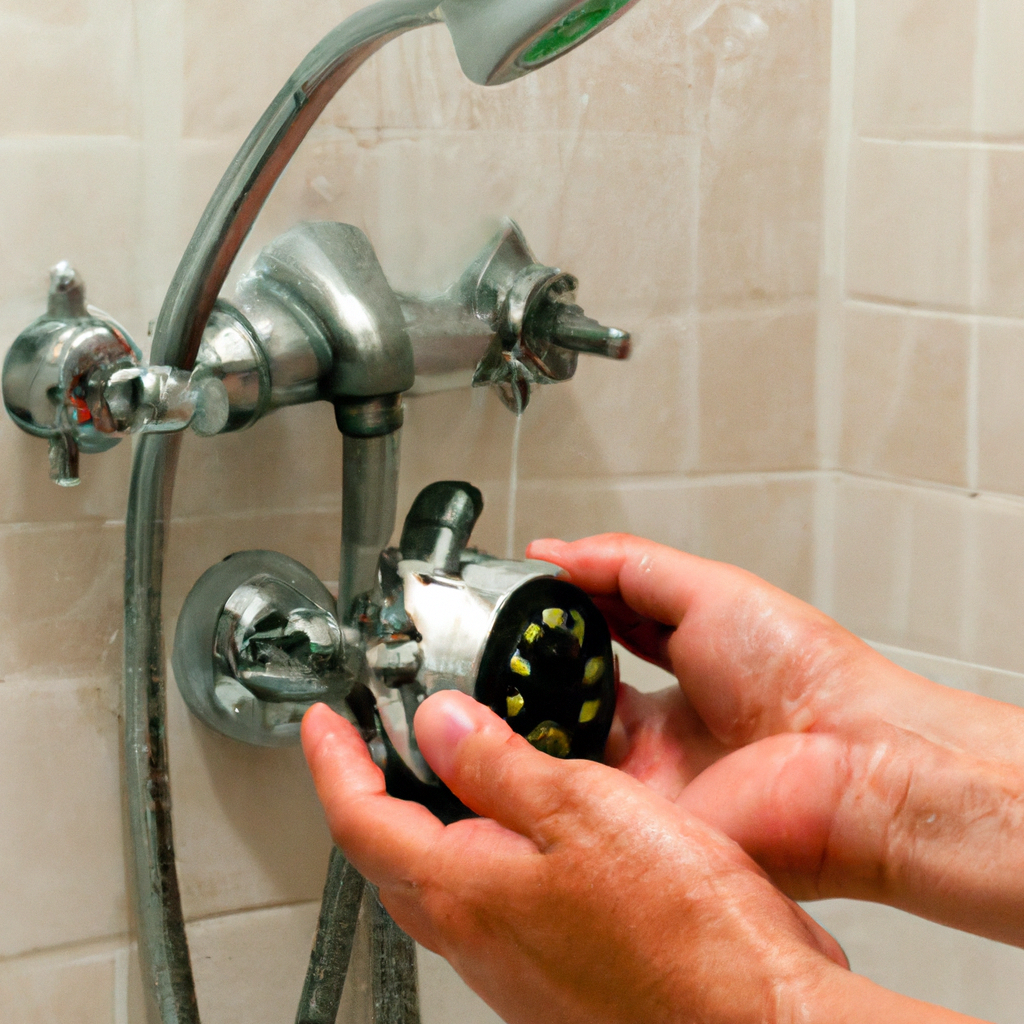
Are you tired of your old and outdated shower head? Do you want to upgrade to a newer, more efficient model? If so, you’re in luck! In this comprehensive guide, we will walk you through the steps of installing a new shower head in just a few minutes. With our easy-to-follow instructions, you’ll be able to enjoy a refreshing and invigorating shower in no time.
Why Should You Install a New Shower Head?
Before we dive into the installation process, let’s take a moment to discuss the benefits of upgrading your shower head. Firstly, a new shower head can significantly improve your shower experience. Modern shower heads come with a range of features, such as adjustable water flow and massage settings, that can make your shower more comfortable and enjoyable.
Secondly, a new shower head can also help you save money on your water bill. Many newer models are designed to be more water-efficient, using less water without compromising on performance. This means that you can enjoy a luxurious shower while also doing your bit for the environment.
Tools and Materials You Will Need
Before we get started, let’s make sure you have all the tools and materials you will need to complete the installation:
- New shower head
- Adjustable wrench
- Teflon tape
- Rag or towel
It’s important to note that some shower heads may come with their own installation kit, so be sure to check before purchasing any additional materials.
Step-by-Step Guide to Installing a New Shower Head
Now that you have everything you need, let’s get started on installing your new shower head. Follow these simple steps:
Step 1: Remove the Old Shower Head
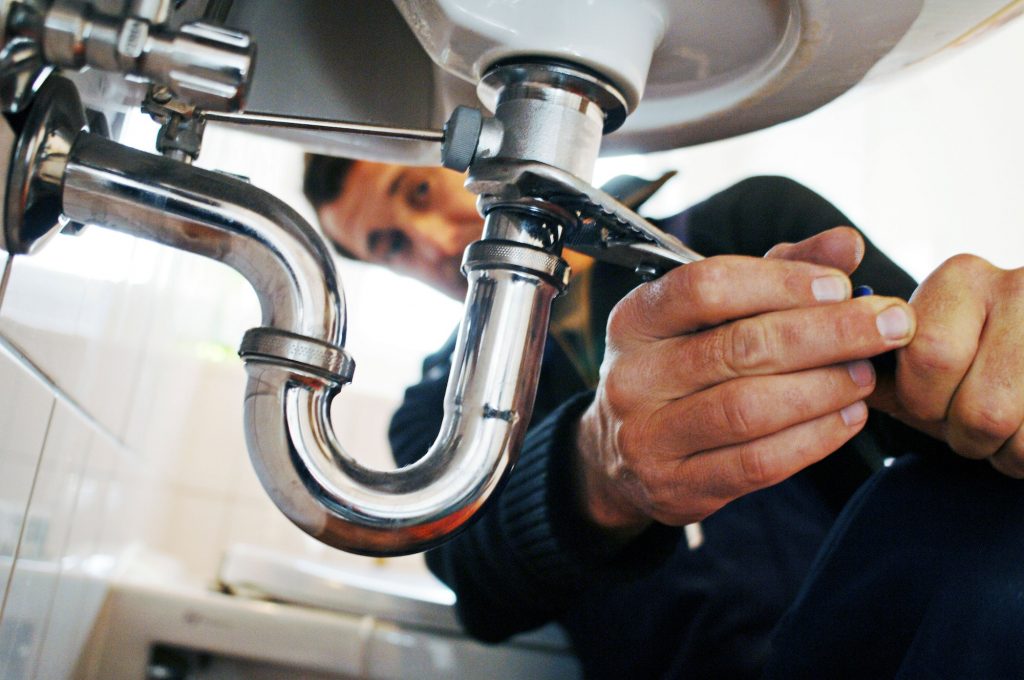
The first step is to remove your old shower head. To do this, use an adjustable wrench to loosen the nut that attaches the shower head to the shower arm. Once the nut is loose, you should be able to remove the old shower head by twisting it counterclockwise.
Step 2: Clean the Shower Arm
Before installing your new shower head, it’s important to clean the shower arm to ensure that there is no debris or old Teflon tape left behind. Use a rag or towel to wipe down the arm and remove any residual material.
Step 3: Apply Teflon Tape
Next, apply Teflon tape to the threads of the shower arm. This will help create a tight seal between the arm and the new shower head, preventing any leaks.
Step 4: Attach the New Shower Head
Now it’s time to attach your new shower head. Simply screw it onto the shower arm, taking care not to overtighten. Use your adjustable wrench to gently tighten the nut, being careful not to scratch the finish of your new shower head.
Step 5: Test for Leaks
Once your new shower head is securely attached, it’s time to test for leaks. Turn on the water and check for any drips or leaks around the base of the shower head. If you notice any leaks, use your wrench to tighten the nut a little more until the leak stops.
Step 6: Enjoy Your New Shower Head!
Congratulations, you have successfully installed your new shower head! Adjust the water flow and massage settings to your liking and enjoy a refreshing and invigorating shower experience.
Conclusion
Installing a new shower head is a quick and easy DIY project that can significantly improve your shower experience while also helping you save money on your water bill. With our step-by-step guide, you’ll be able to install your new shower head in just a few minutes. So why wait? Upgrade your shower head today and start enjoying a luxurious shower experience!

